
With our third comic, The Adventures of Mickey the Moose #2, successfully launched I thought I’d talk about the process I go through to make a comic.
There are as many different ways to produce comics as there are comics, so this is just one of them. I control every aspect of the production from development to distribution. If you work with a larger publisher, it is a whole other beast.
Using my way, at least you can get started today.
1) Write a Summary.
I am a writer, so every comic begins with a written summary of what the comic is going to be about. This is never very complicated and almost never ends up being even close to the final product but at least it’s a start and it gets the process underway.
I try to outline the story and identify any characters who are going to be in the story. If they are new characters, I flesh them out.
I am not an artist. I hire artists. The summary is a great way to begin a discussion with my artist about what vision and direction. There is still a long way to go but it gets everybody thinking the same way.
(COMING SOON: How to Find Collaborators for your Comic Project)
2) Do a Rough Galley.
In printing, a galley is a layout of many pages on a single sheet print out. It is used to get an overall look at the flow of the narrative and is particularly important with visual media like magazines and comics.
Usually, this process is done after the work has been typeset and designed. My version is done at the beginning, not the end, of the process.
After developing my summary, I determine roughly how many pages I am going to need to tell the main story. An average comic might contain, in the area of, 18-20 pages of story, but there is no unbreakable rule here. Use what you need, but be aware more pages equals more costs.
The only unbreakable rule is your final page count must be divisible by four. This is the way it has to be for your pages to layout correctly in book form.
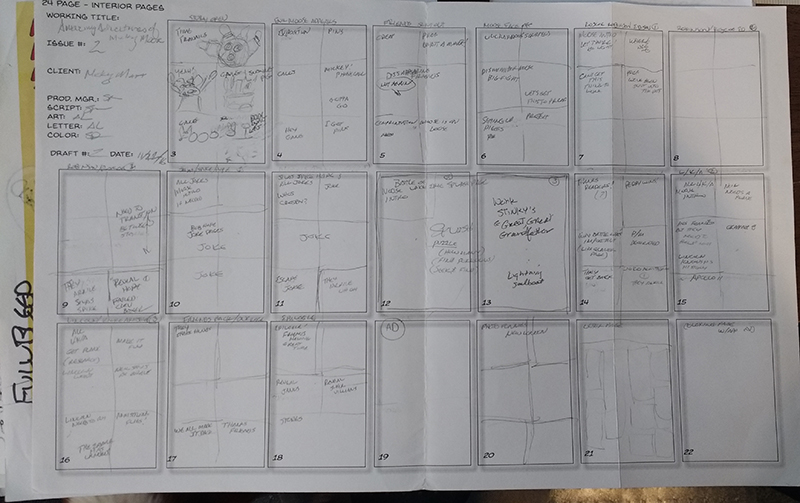
I use an 11×17 preprinted sheet (of my own design) to break down, very roughly, how the comic is going to look and flow. Each sheet has twenty pages on it and I simply sketch out where I am going to put stories, ads, letters pages, etc.
Here is an example of a page sketched out. I’ve found these pages (far more professionally presented than my rough sketches) to be excellent tools when I am trying to sell the comic to a client or an advertiser. It gives them a better idea of the flow of the comic.
3) Visually Flesh It Out.
Comics are a visual medium, so it shouldn’t be any surprise that the development process relies heavily on visual tools. As I said, I am not an artist, but I can draw a stick figure with the best of them.
Using preprinted sheets with blank panels, I start to flesh out the story I want to tell. I’ve found the development of a mock-up helps this process immensely. I use as many pieces of paper as there are pages in the book.
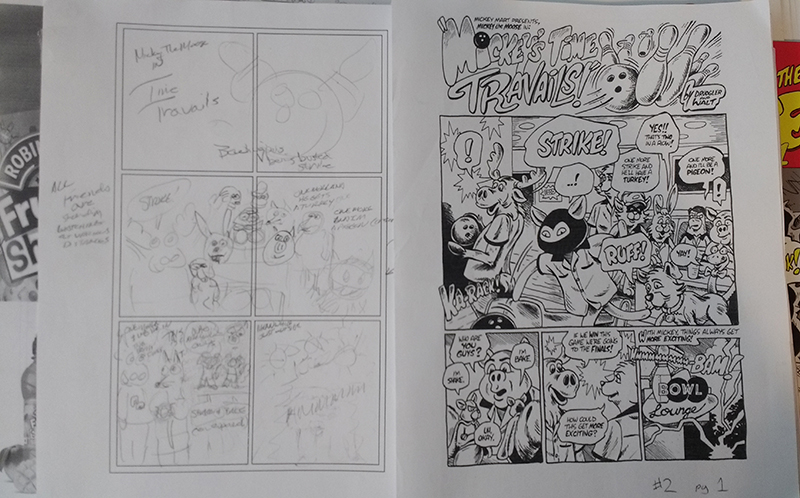
On these pages, I begin to use my “very” rudimentary skills as an artist to work out my ideas, particularly as they relate to how they flow on a page and from page to page. Again, these are just rough ideas and frequently change, but this is pretty close to a “proto” comic as I get.
For me, this is one of the most important parts of the development process. I will, at the very least just write a couple of words at the top of each panel just to get an idea where I am going and how my story is paced. I number the pages, tape them together back to back and collect them with a binder clip, simulating the actual layout of the book itself.
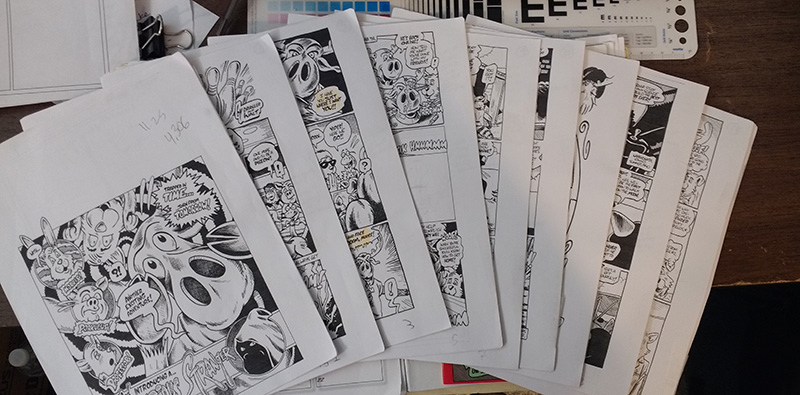
As I refine my sketches and my story structure I create new pages which get taped over the older pages. These pages will, in turn, be taped over by finished art as I get it and other materials until I am left with a rough simulation of the actual comic which might end up an inch or so thick, depending on how many pages I messed with.
Pages from my completed mock-up for AAoMM#2.
Leave a Reply